Stay Up To Date
We believe in keeping you in the loop with all the latest happenings in our courses and system. On this page, you'll find a comprehensive log of all the exciting changes, improvements, and additions we make to our courses and system. Whether it's a new feature, a course enhancement, or a system update, we've got you covered. Bookmark this page and check back regularly. We're committed to ensuring that your learning experience remains exceptional and that you have all the information you need to succeed.

New Features

New Updates

Resources & Tools

Important Updates
Here are some of the most recent updates we thought would be helpful to take note of
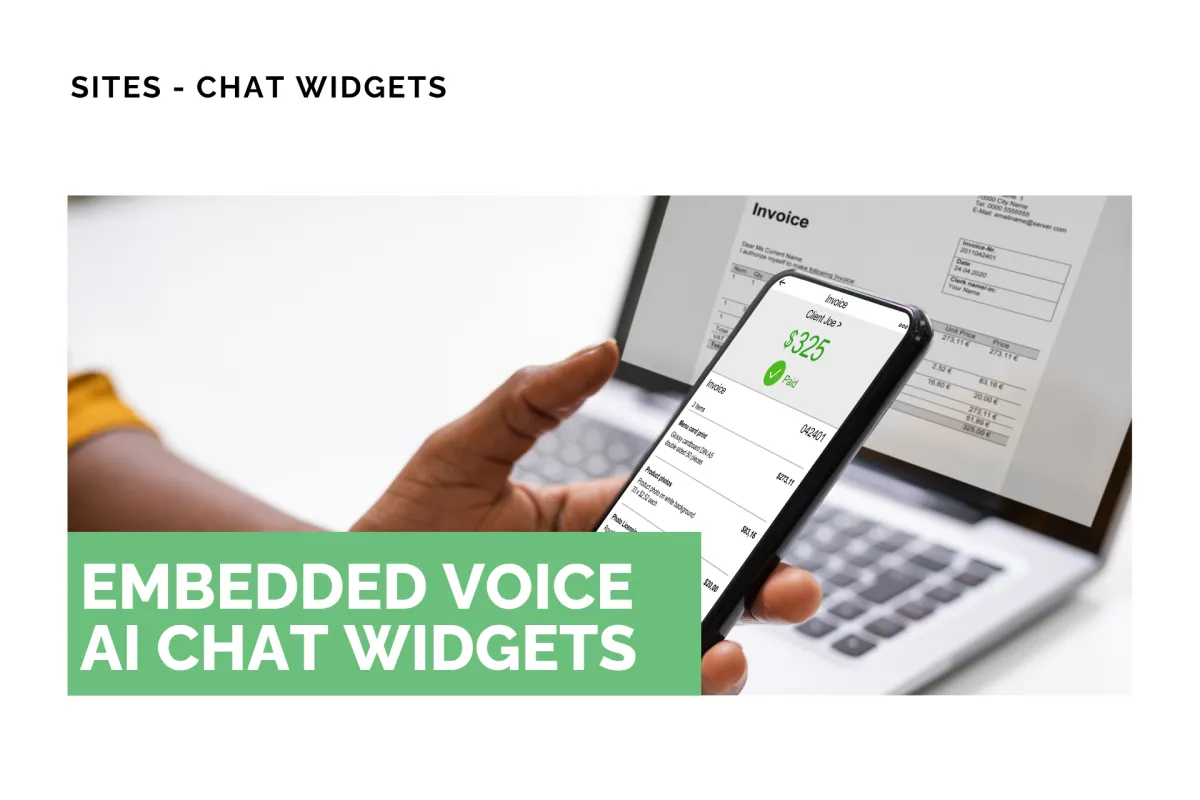
New Feature: Embedded Voice AI Chat Widgets
Chat Widgets help you capture customers’ attention and direct them to interact with your business. However, if not properly placed, they can be distracting. So, we’re glad to introduce an embedded option for Voice AI widgets. Let’s learn how to use it!
⭐️ How To Use The Embedded Voice AI Chat Widget?
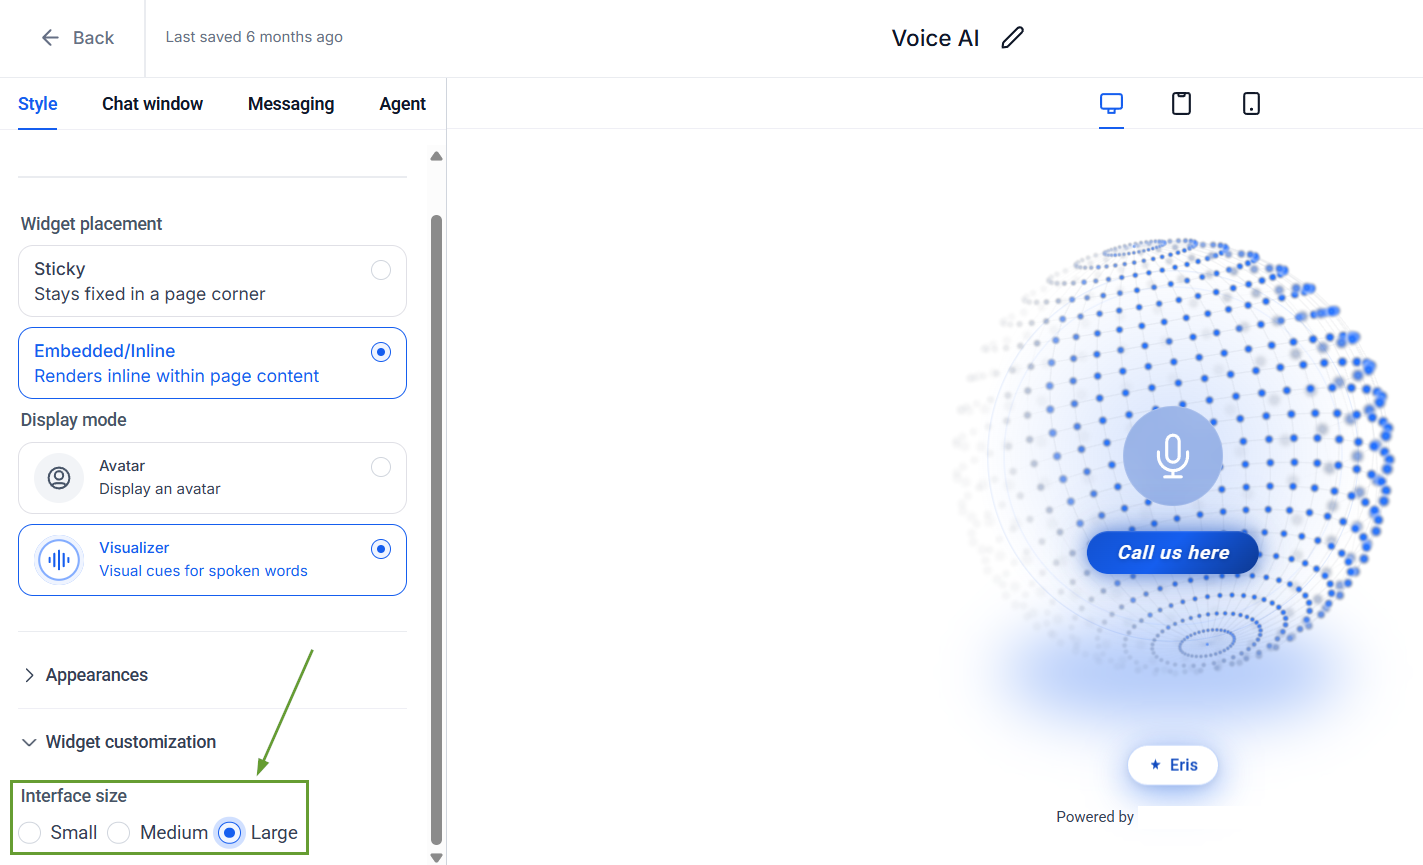
Start by heading to the Chat Widget tab inside the Sites section and creating or editing a Voice AI widget.

In the Style tab, select Embedded as your widget placement.

Choose a display mode between Avatar and Visualiser.

Customize remaining available styling options. If Visualiser is selected, you can configure the Interface Size.
⭐️Why Is This Feature Beneficial To Your Company?
Increased Placement Control: Enables non-intrusive Voice AI experiences embedded directly into website layouts to support better conversion-focused placements.
Visual Queue Improvement: Introduces visual interaction patterns to create more engaging voice experiences and a responsive flow for visitors.
Enhanced Customization: This creates highly customisable Voice AI widgets across different use cases, helping you unlock design flexibility for landing pages, funnels, and content-driven sites.
All you have to do is copy the code via “Get Code” and paste it where you want the widget to appear on your website. Multiple embedded widgets can be used simultaneously to create the perfect experience. We hope you enjoy it!