Stay Up To Date
We believe in keeping you in the loop with all the latest happenings in our courses and system. On this page, you'll find a comprehensive log of all the exciting changes, improvements, and additions we make to our courses and system. Whether it's a new feature, a course enhancement, or a system update, we've got you covered. Bookmark this page and check back regularly. We're committed to ensuring that your learning experience remains exceptional and that you have all the information you need to succeed.

New Features

New Updates

Resources & Tools

Important Updates
Here are some of the most recent updates we thought would be helpful to take note of
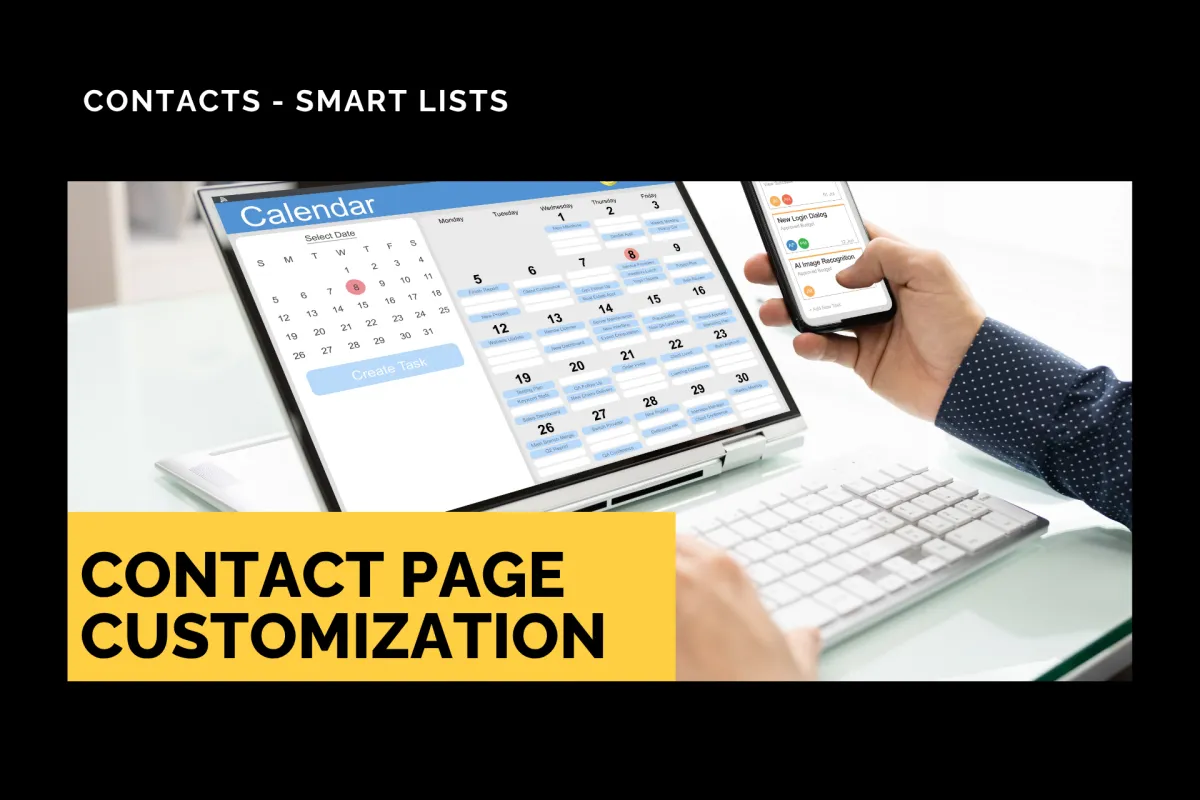
New Feature: Contact Page Customization
The Contact Page should include all the essential information your team needs to service customers without adding distractions or sensitive data. However, with a fixed build, this wasn’t possible. So, we’re glad to introduce Contact Page Customization. Let’s learn how to use it!
⭐️ How To Create A Customized Contact Page?
Head to the Smart Lists tab in the Contacts section, and click the three-dot icon to select the Settings option.

Select “Customize contact detail view” and create or edit a view.

If creating a new view, enter a name, select the users that will use it, then click Create.

Design layouts by rearranging modules, choosing panel structures, and selecting display formats. Clicking Save once you’re satisfied.

⭐️Why Is This Feature Beneficial To Your Company?
Improved Layout: Enhance the contact card with key information, such as email, phone number, and custom fields and folders, based on user needs and relevance.
Simplified Navigation: Tailor the contact experience based on roles and responsibilities, keeping the most important information front and center.
Role-Centric Focus: Reduce clutter by hiding non-essential fields and prioritizing the most used sections, improving team productivity with layouts designed for how they actually work.
Customized Contact Pages can be reassigned or unassigned as needed, ensuring you have the flexibility while your team remains focused on their important tasks and information. We hope you enjoy it!