Stay Up To Date
We believe in keeping you in the loop with all the latest happenings in our courses and system. On this page, you'll find a comprehensive log of all the exciting changes, improvements, and additions we make to our courses and system. Whether it's a new feature, a course enhancement, or a system update, we've got you covered. Bookmark this page and check back regularly. We're committed to ensuring that your learning experience remains exceptional and that you have all the information you need to succeed.

New Features

New Updates

Resources & Tools

Important Updates
Here are some of the most recent updates we thought would be helpful to take note of
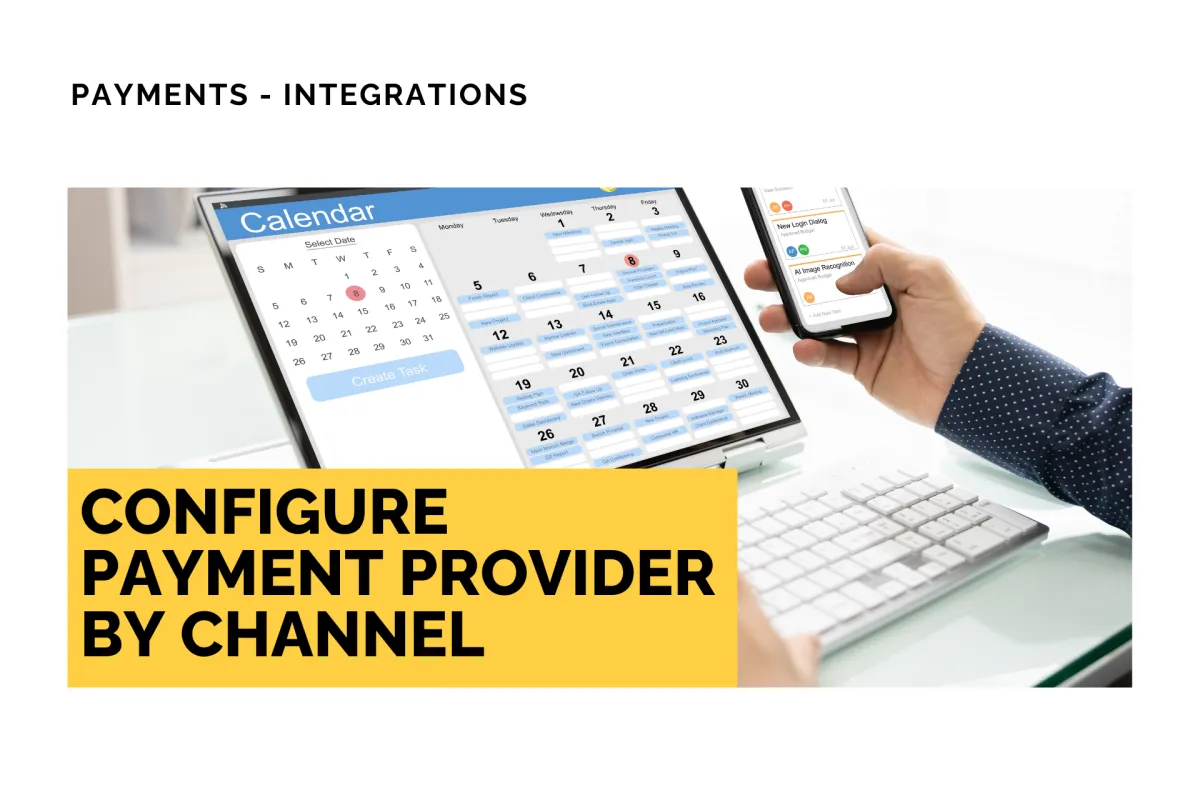
New Feature: Configure Payment Provider by Channel
When managing multiple products and providers, even though the default payment provider can always be used, this might not be sufficient for your business. To give you more control over your operations, we’ve added a channel-level provider configurator. Let’s check how to use it!
⭐️How to Configure a Payment Provider for a Specific Channel?
Head to the Integrations tab inside the Payments section and click “Configure providers” in the top right corner.

Select whether you want to set the provider for Live or Test payments.

Click the plus sign icon next to the payment provider to add alternatives.

Select the payment methods you wish to include. You can verify it was selected if it has a check mark next to it.

⭐️Why Is This Feature Beneficial To Your Company?
Cleaner Billing Operations: You can decide which payment processor is used per channel, without changing your global default, giving you more control over where each payment processor is used.
Intuitive Configuration: The changes will be automatically saved, making it easy to route payments through the right provider based on how the channel is used.
Accidental Removal Prevention: If you try to remove all providers from the Provider Selection for a channel, the system will automatically revert the channel to the Default provider setting.
Route payments through the right provider based on pricing, ticket size, and how that channel is used, leading to a better customer experience and better checkouts. We hope you enjoy it!