Stay Up To Date
We believe in keeping you in the loop with all the latest happenings in our courses and system. On this page, you'll find a comprehensive log of all the exciting changes, improvements, and additions we make to our courses and system. Whether it's a new feature, a course enhancement, or a system update, we've got you covered. Bookmark this page and check back regularly. We're committed to ensuring that your learning experience remains exceptional and that you have all the information you need to succeed.

New Features

New Updates

Resources & Tools

Important Updates
Here are some of the most recent updates we thought would be helpful to take note of
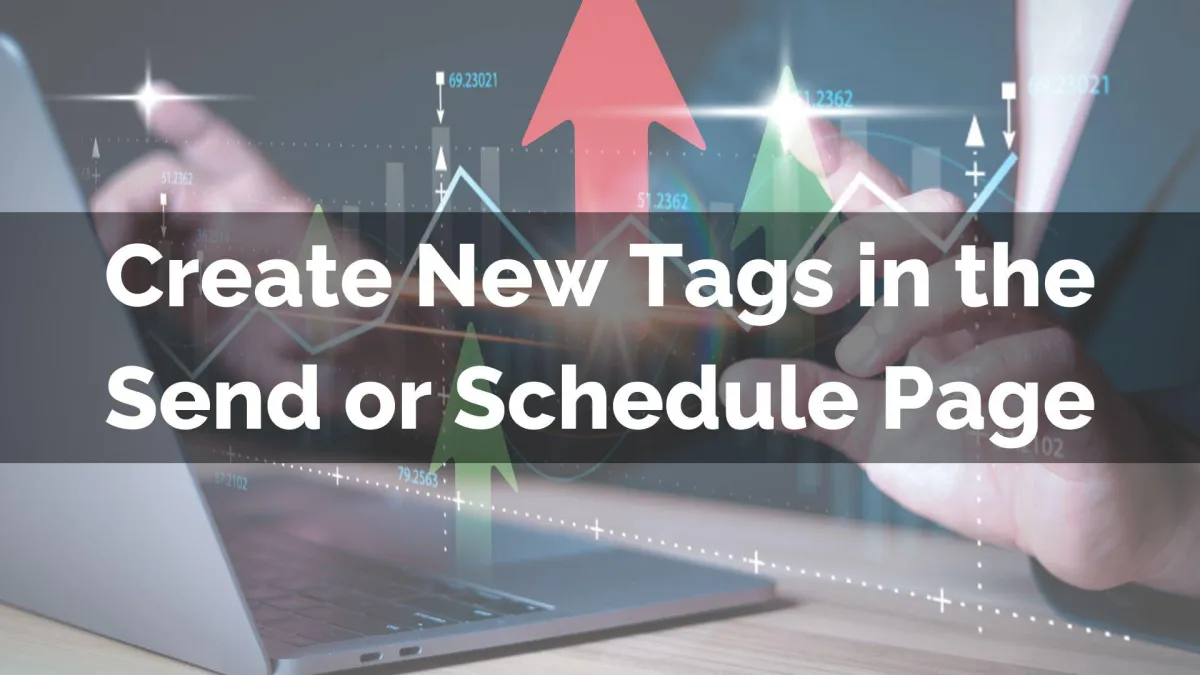
Improved Feature: Create New Tags in the Send or Schedule Page
The way customers react to your email marketing is a huge indicator of their interest level in your products. Grouping them based on this response can help you capture potential opportunities. This feature will help you achieve that. Give it a look!
⭐️How Will These Changes Affect You?
Simplified Tagging: This removes the need to pre-create tags before sending or scheduling a campaign.

System Save: Clicking Save after setting a new tag will add it to your CRM, letting you add it to workflows for easy follow-up.

⭐️How To Create New Tags?
Let’s go over the steps to add new tags in the Send or Schedule Page!
To start, head to the Email tab inside the marketing section and create or edit a campaign.

Inside the builder, click “Send or Schedule.”

Toggle Add tags, then click “Add conditions.”

Enter your desired tag, then click the + sign icon to add it.

Once you’ve set your conditions and tags, click Save. This will immediately start tagging the campaign recipients as they meet the set conditions, helping you easily manage interactions and approach sale completion with security.